CloudOne: Enterprise MongoDB Backup and Recovery - V 3.6
Version 3.6 CloudOne Enterprise MongoDB Backup and Recovery
Version 3.6 of the CloudOne Enterprise Mongodb Dataspace introduces a MongoDB OpsManager for deployment and management and it provides the following features:
- Backup and recovery
- Monitoring
- Advance security
- ReplicaSet access outside of the cluster
- Professional support.
We are going to use Opsmanager portal for backup and recovery opertions. In this document we will be explaning steps need to be performed for various types of Recovery.
How to enable Backup?.
Follow the below steps to enable the backup.
-
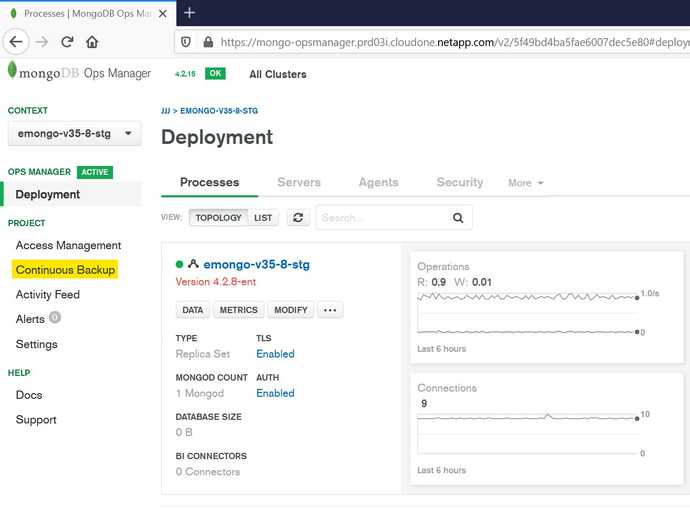
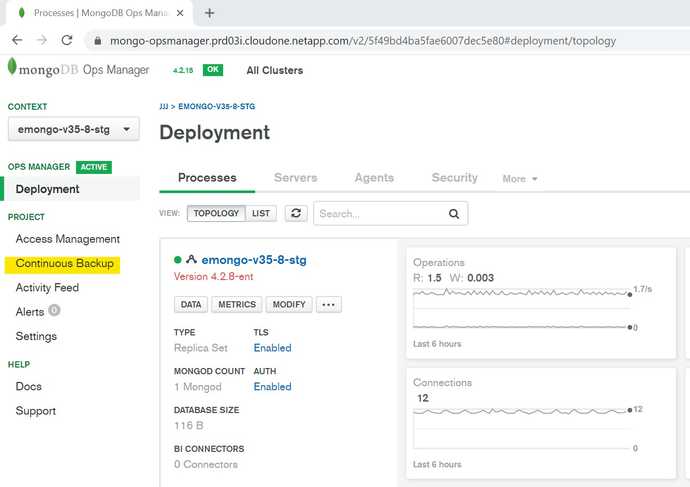
Click "Continuous Backup" option under Project.
-
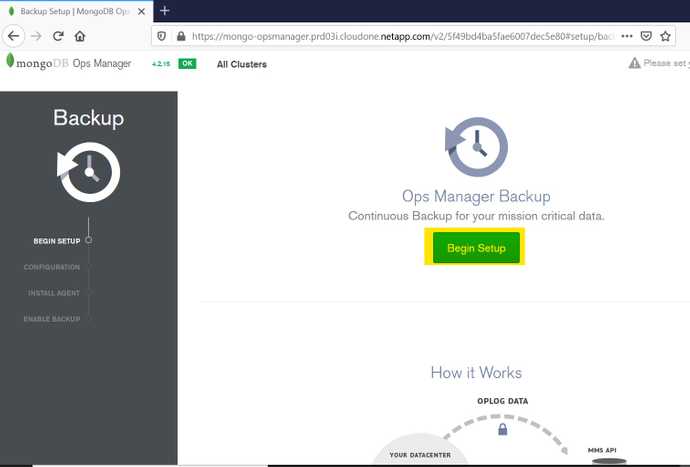
Click "Begin Setup" on Ops Manager backup page.
-
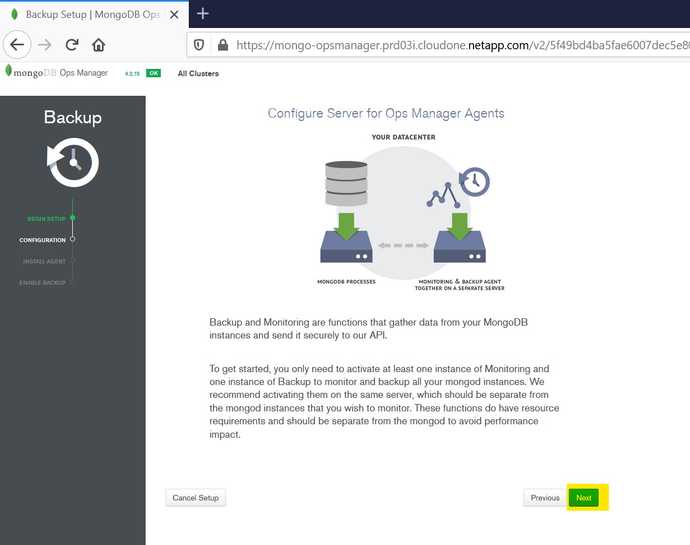
Click "Next" on Configure Server for Ops Manager Agents page.
-
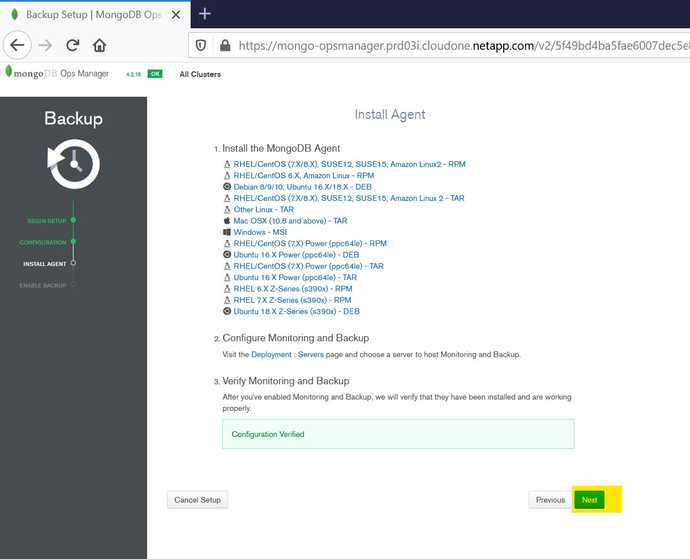
Click "Next" on Install Agent.
-
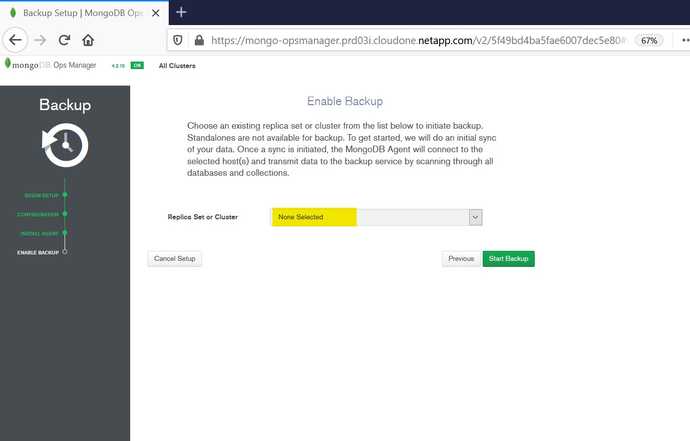
Select "ReplicaSet" name from the dropdown list on Enable Backup page.
-
Click "Start Backup".
How to change the Backup schedule?.
Follow the below steps to change the backup schedule.
-
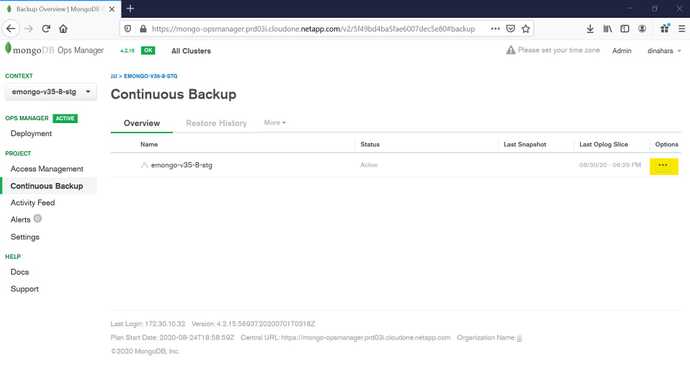
Click "Continuous Backup" option under Project.
-
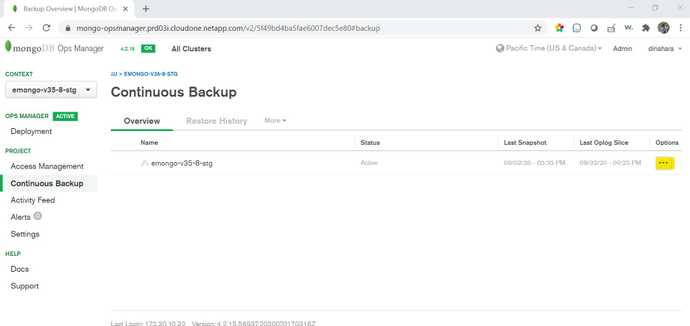
Once you are in Continuous Backup page, In the overview tab click on "..." in options field.
-
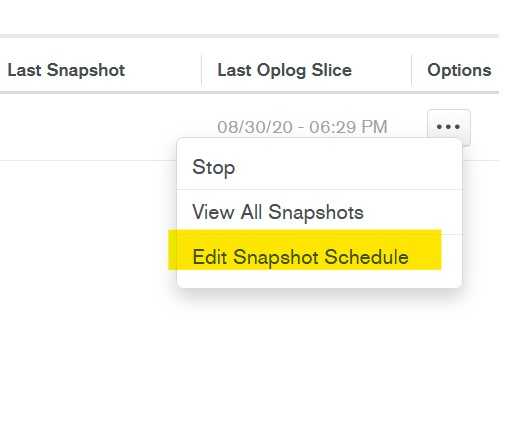
Select "Edit Snapshot Schedule" from the pop-up list.
-
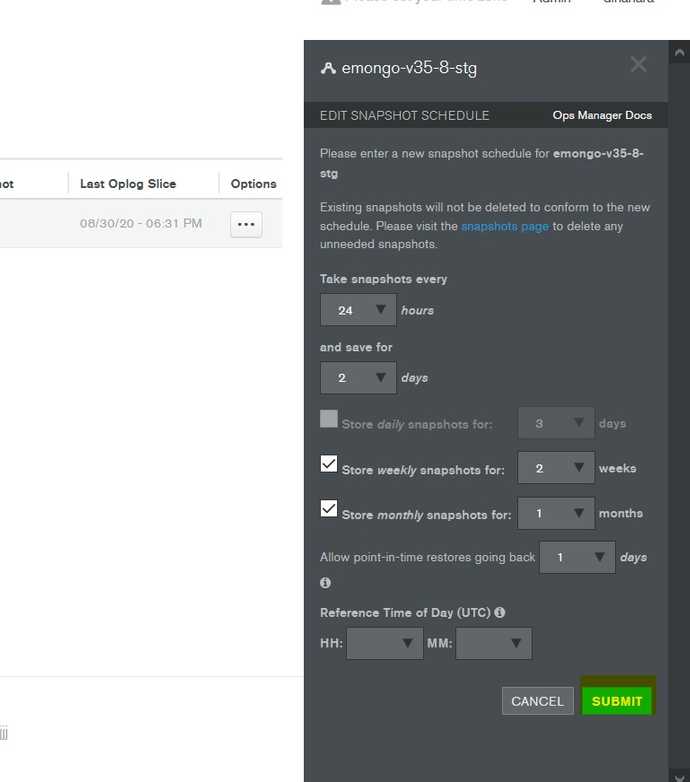
Update the schedule and Submit the changes.
Recover the database from backup snapshot.
Follow the below steps to perform database recovery
-
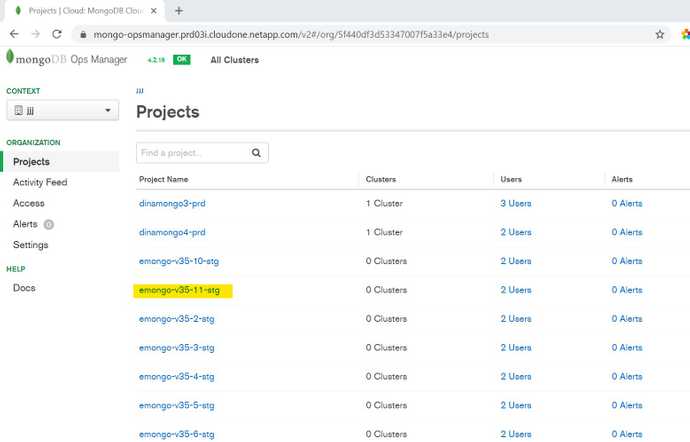
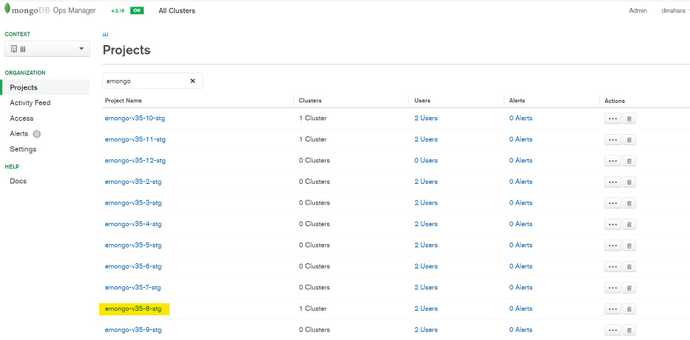
Select the project where you want to perform the recovery.
-
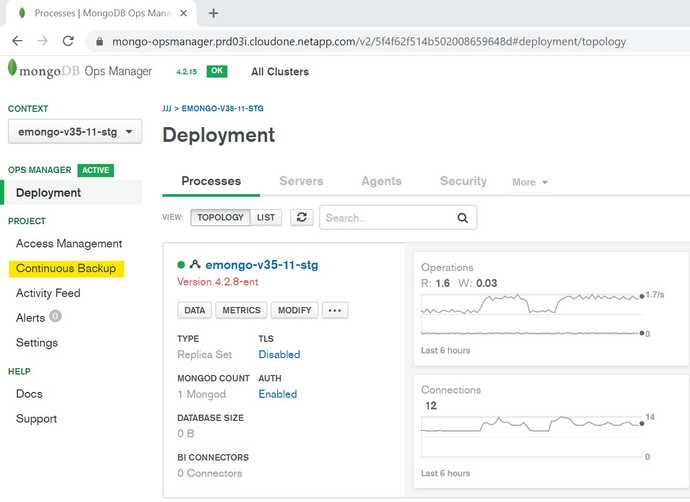
Click on "Continuous Backup".
-
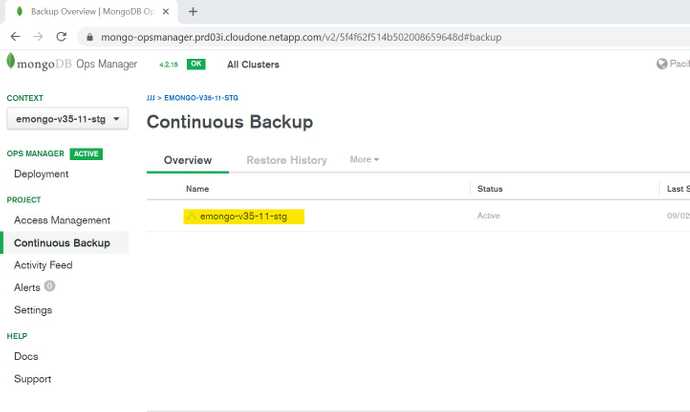
Click on "Database name" in Continuous Backup overview page.
-
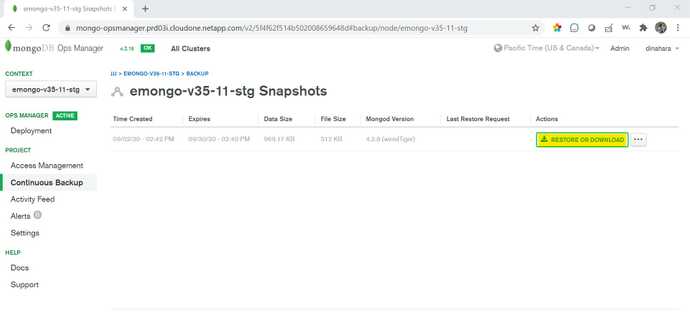
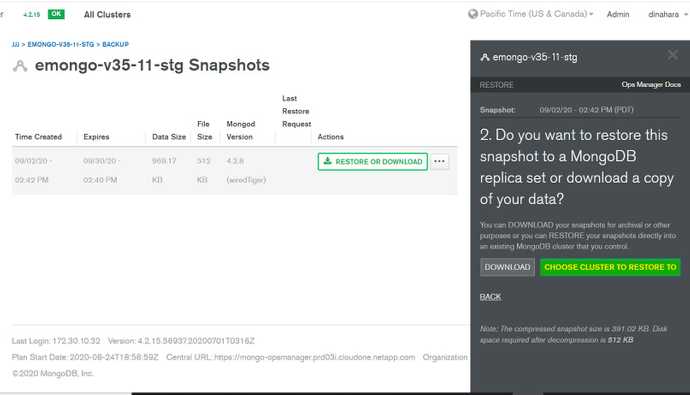
Click on "Restore or Download" button on desired snapshot row.
-
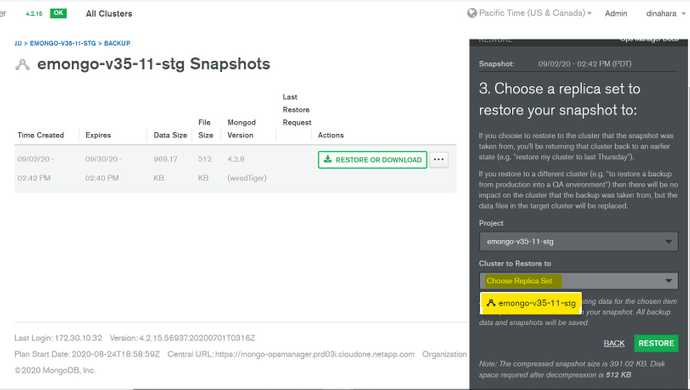
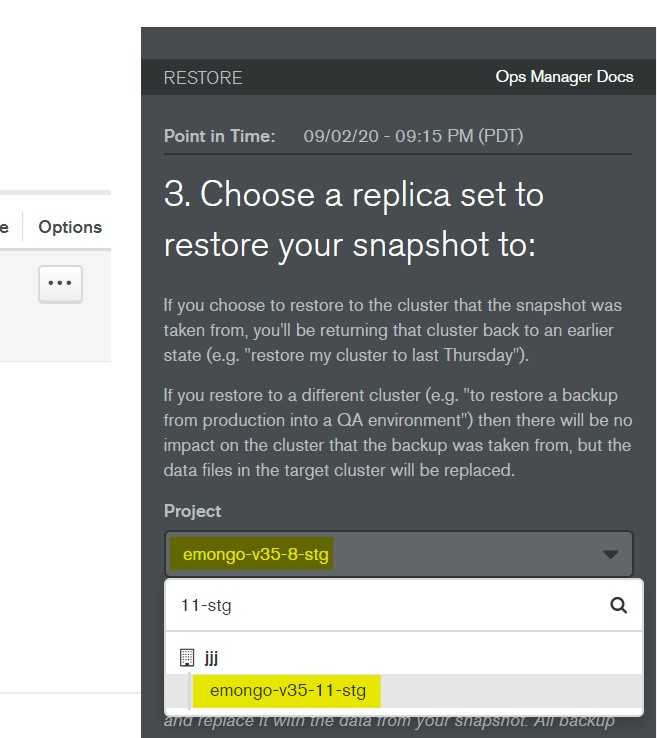
Click on "Choose Cluster to restore to" in the pop-up page.
-
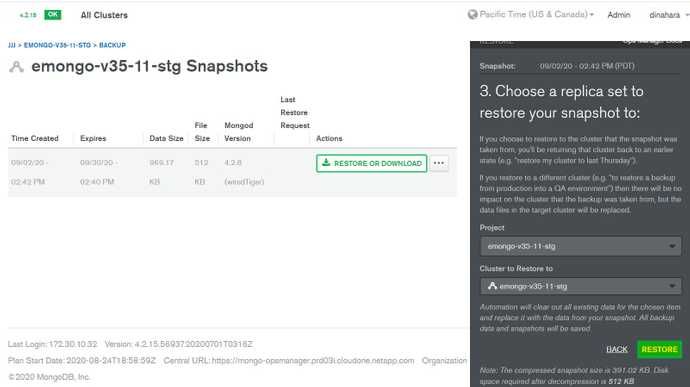
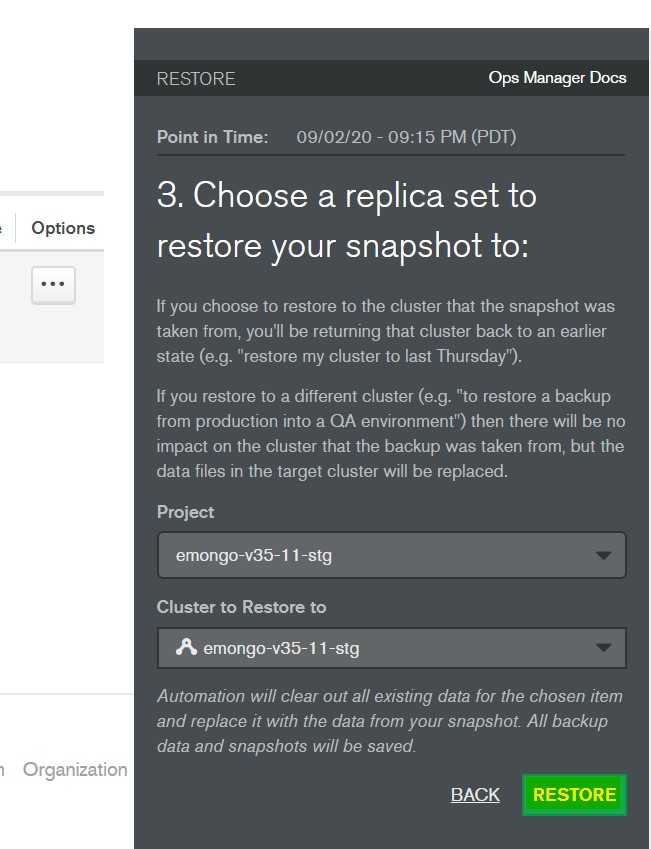
Select the project name and replicaset name from dropdown list.
-
Click on Restore button.
-
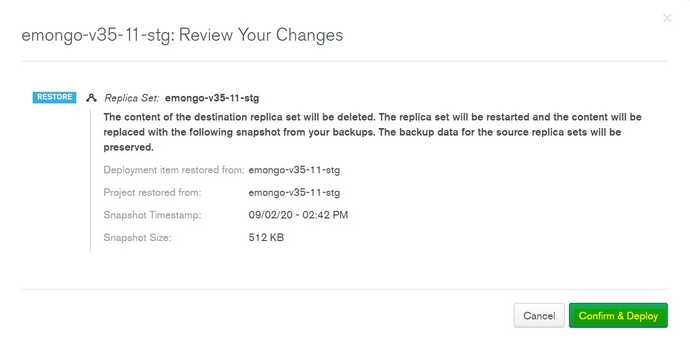
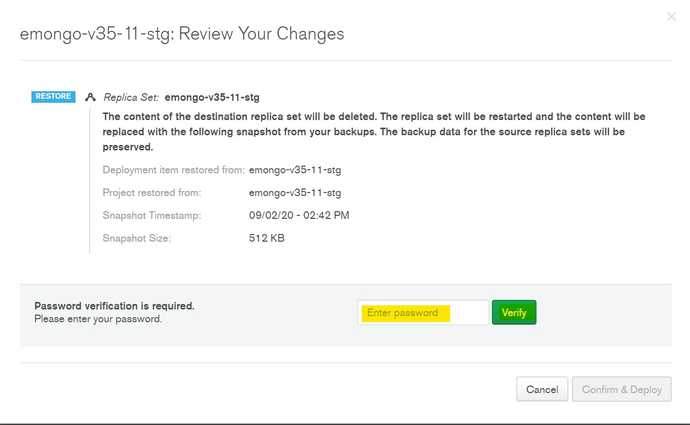
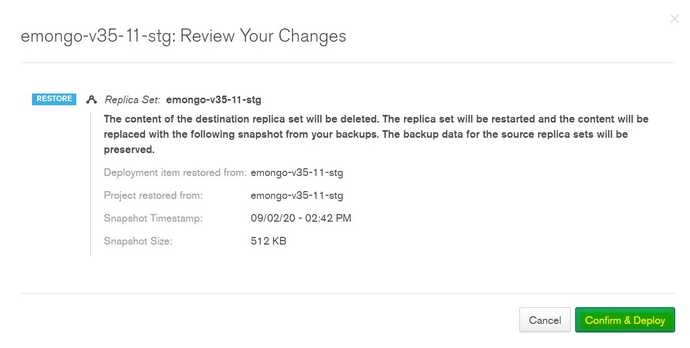
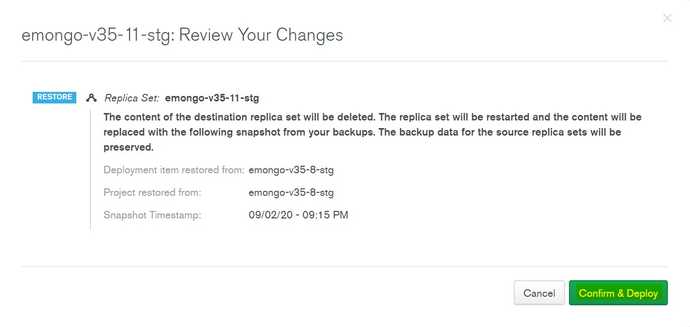
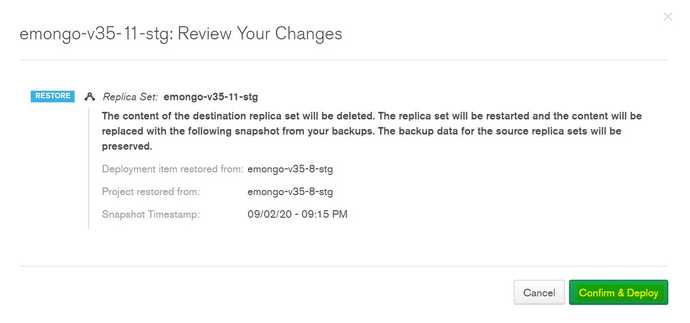
Click on Confirm and Deploy button in pop-up page.
-
Type your SSO password.
-
Click on Confirm and Deploy button again.
-
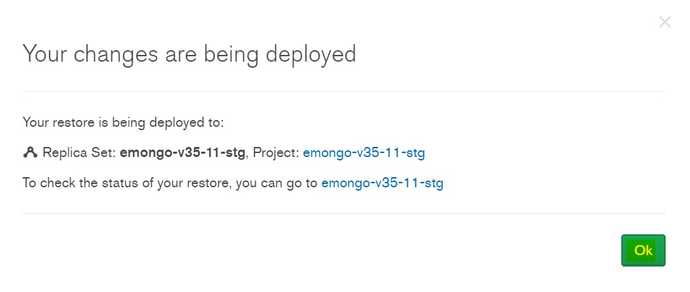
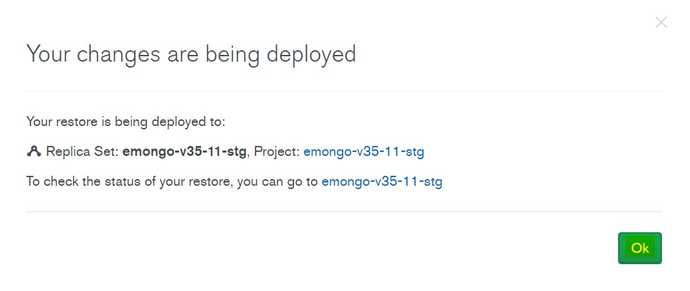
Click OK on pop-up message.
-
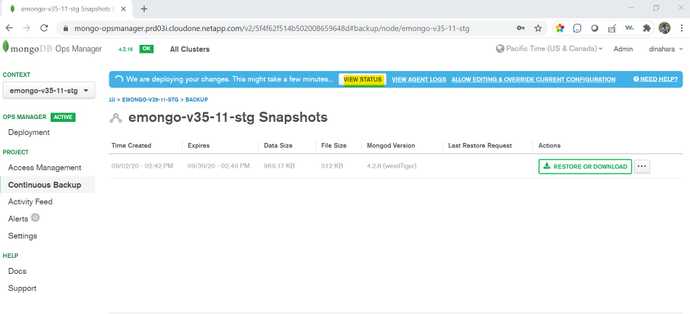
You will notice blue bar with deployment message and this shows thats recovery opertaion is in progress. It will take few minutes to complete the recovery operation.
-
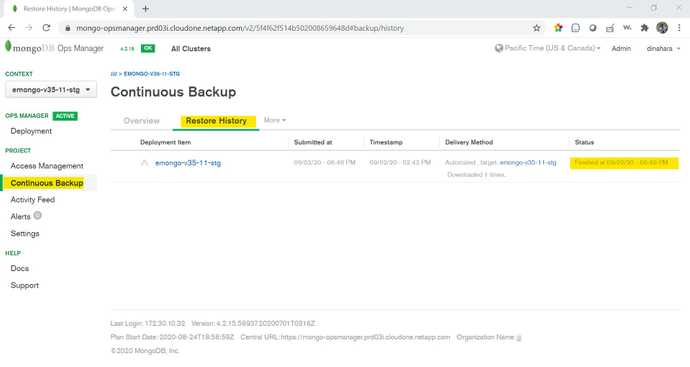
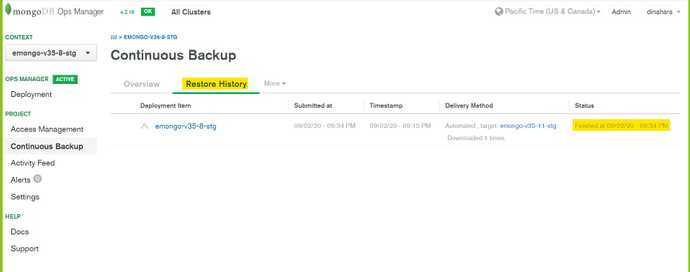
After few minutes try to refresh your brower page to make sure the blue bar is disappreared. Click on "Continuous Backup" again to verify the restore status.
Click the below image to watch the video
Recover the database snapshot into another database.
Follow the below steps to restore backup of one database to another database.
-
Select the project where you want to perform the recovery.
-
Click on "Continuous Backup".
-
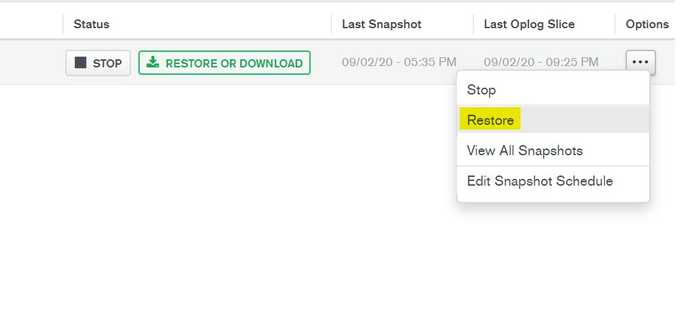
Click on "..." in Continuous Backup overview page.
-
Select "Restore" from pop-up menu.
-
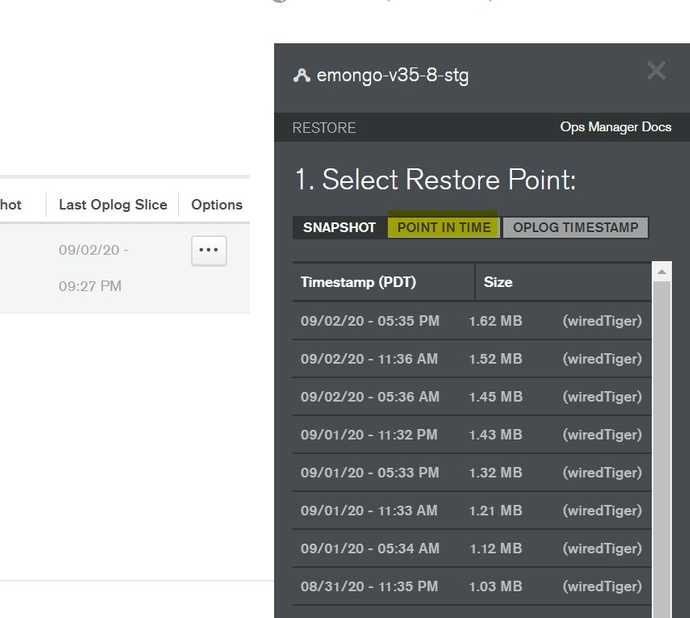
Click on "POINT IN TIME" Tab.
-
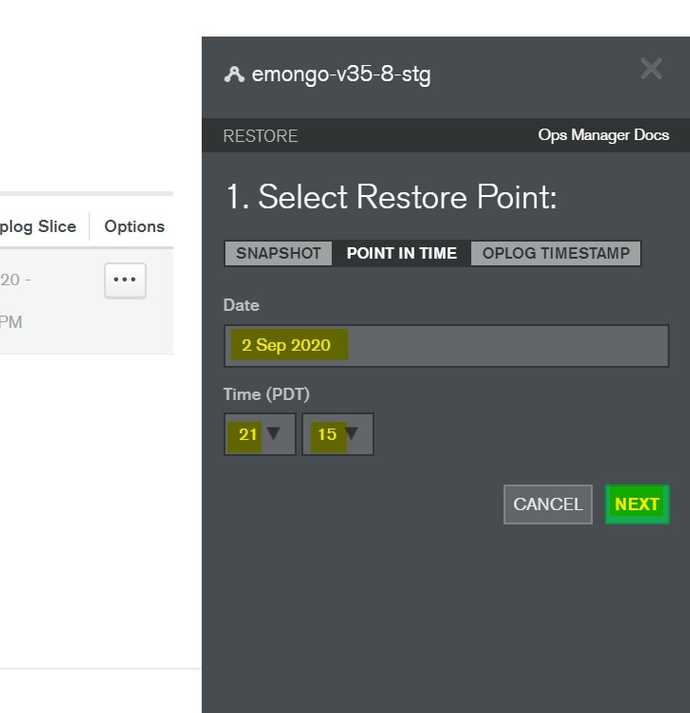
Provide date and time for point in time recovery and click next.
-
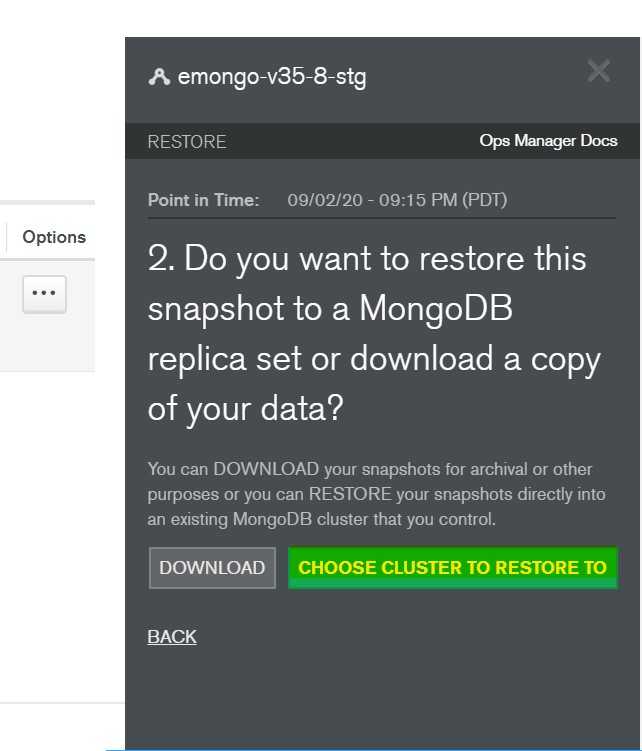
Click on "Choose Cluster to restore to" in the pop-up page.
-
Select the project name and replicaset name where you want to restore from the dropdown list.
-
Click on "Restore" button.
-
Click on Confirm and Deploy button in pop-up page.
-
Type your SSO password.
-
Click on Confirm and Deploy button again.
-
Click OK on pop-up message.
-
Wait for few minutes and Click on "Continuous Backup" again to verify the restore status.
Click the below image to watch the video
