Contents
Rancher CLI Authentication - V 1
Rancher CLI Authentication
Method 1 (Rancher Dashboard Portal):
-
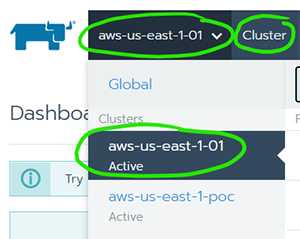
Navigate to the Rancher Dashboard and make sure the correct cluster is selected
-
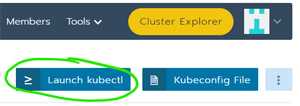
Click the "Launch kubectl" button
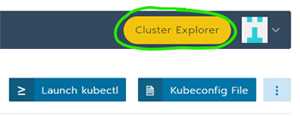
Method 2 (Rancher Cluster Explorer Portal):
Method 3 (Local Machine):
-
Navigate to the Rancher Dashboard and make sure the correct cluster is selected
- Same as Method 1 -> Step 1
- Click the "Kubeconfig File" button
-
Copy the contents and save it to a file on your local system
- example: 'rancher-aws-kubeconfig.conf'
-
Scroll to the bottom of the Rancher Dashboard page and download the Rancher CLI
- Add the Rancher cli executable location to your PATH environment variable
- Install kubectl
-
Execute your desired kubectl command and reference the kubeconfig file you had earlier saved
- The first time you execute a kubectl command, you will be prompted to authenticate
-
During authentication prompts, enter the following
- Provider: 0 (activeDirectoryProvider)
- Username: {your sso@netapp.com}
- Password: { your sso password}
Example:
$ kubectl --kubeconfig=rancher-aws-kubeconfig.conf get pods -n abc-hostspace1-stg
https://aws-us-east-1.rancher.cloudone.netapp.com/v3-public/authProviders
Enter auth provider
0 - activeDirectoryProvider
1 - localProvider: 0
Enter credentials for activeDirectoryProvider

Enter username: ***@netapp.com
Enter password:
INFO[0011] Saving config to /Users/***/.rancher/cli2.json
No resources found in abc-hostspace1-stg namespace.


